Personal Portfolio Site (This Website)
Creating a tech blog website/portfolio to store additional information about my projects.
 Github
 View
ViewWhy I created this site
I love my first portfolio site - but it's not very practical. It has no easy way to add additional information/pictures for projects and would start to look cramped over time.
My old site:

I wanted to create a new portfolio that was more like a blog site, with articles and images. This was also around the time that I was getting more experience with NextJS and Tailwind, so I thought I'd make a modern site.
My goals for this site
The main thing I wanted was more space to write about my projects. My old site was just a collection of links to my projects github repos, which wasn't super useful. I also wanted thumbnail images on my new site, so user's had a preview of each of my projects without having to read the attached post.
These examples were some of my main inspirations for my new site:
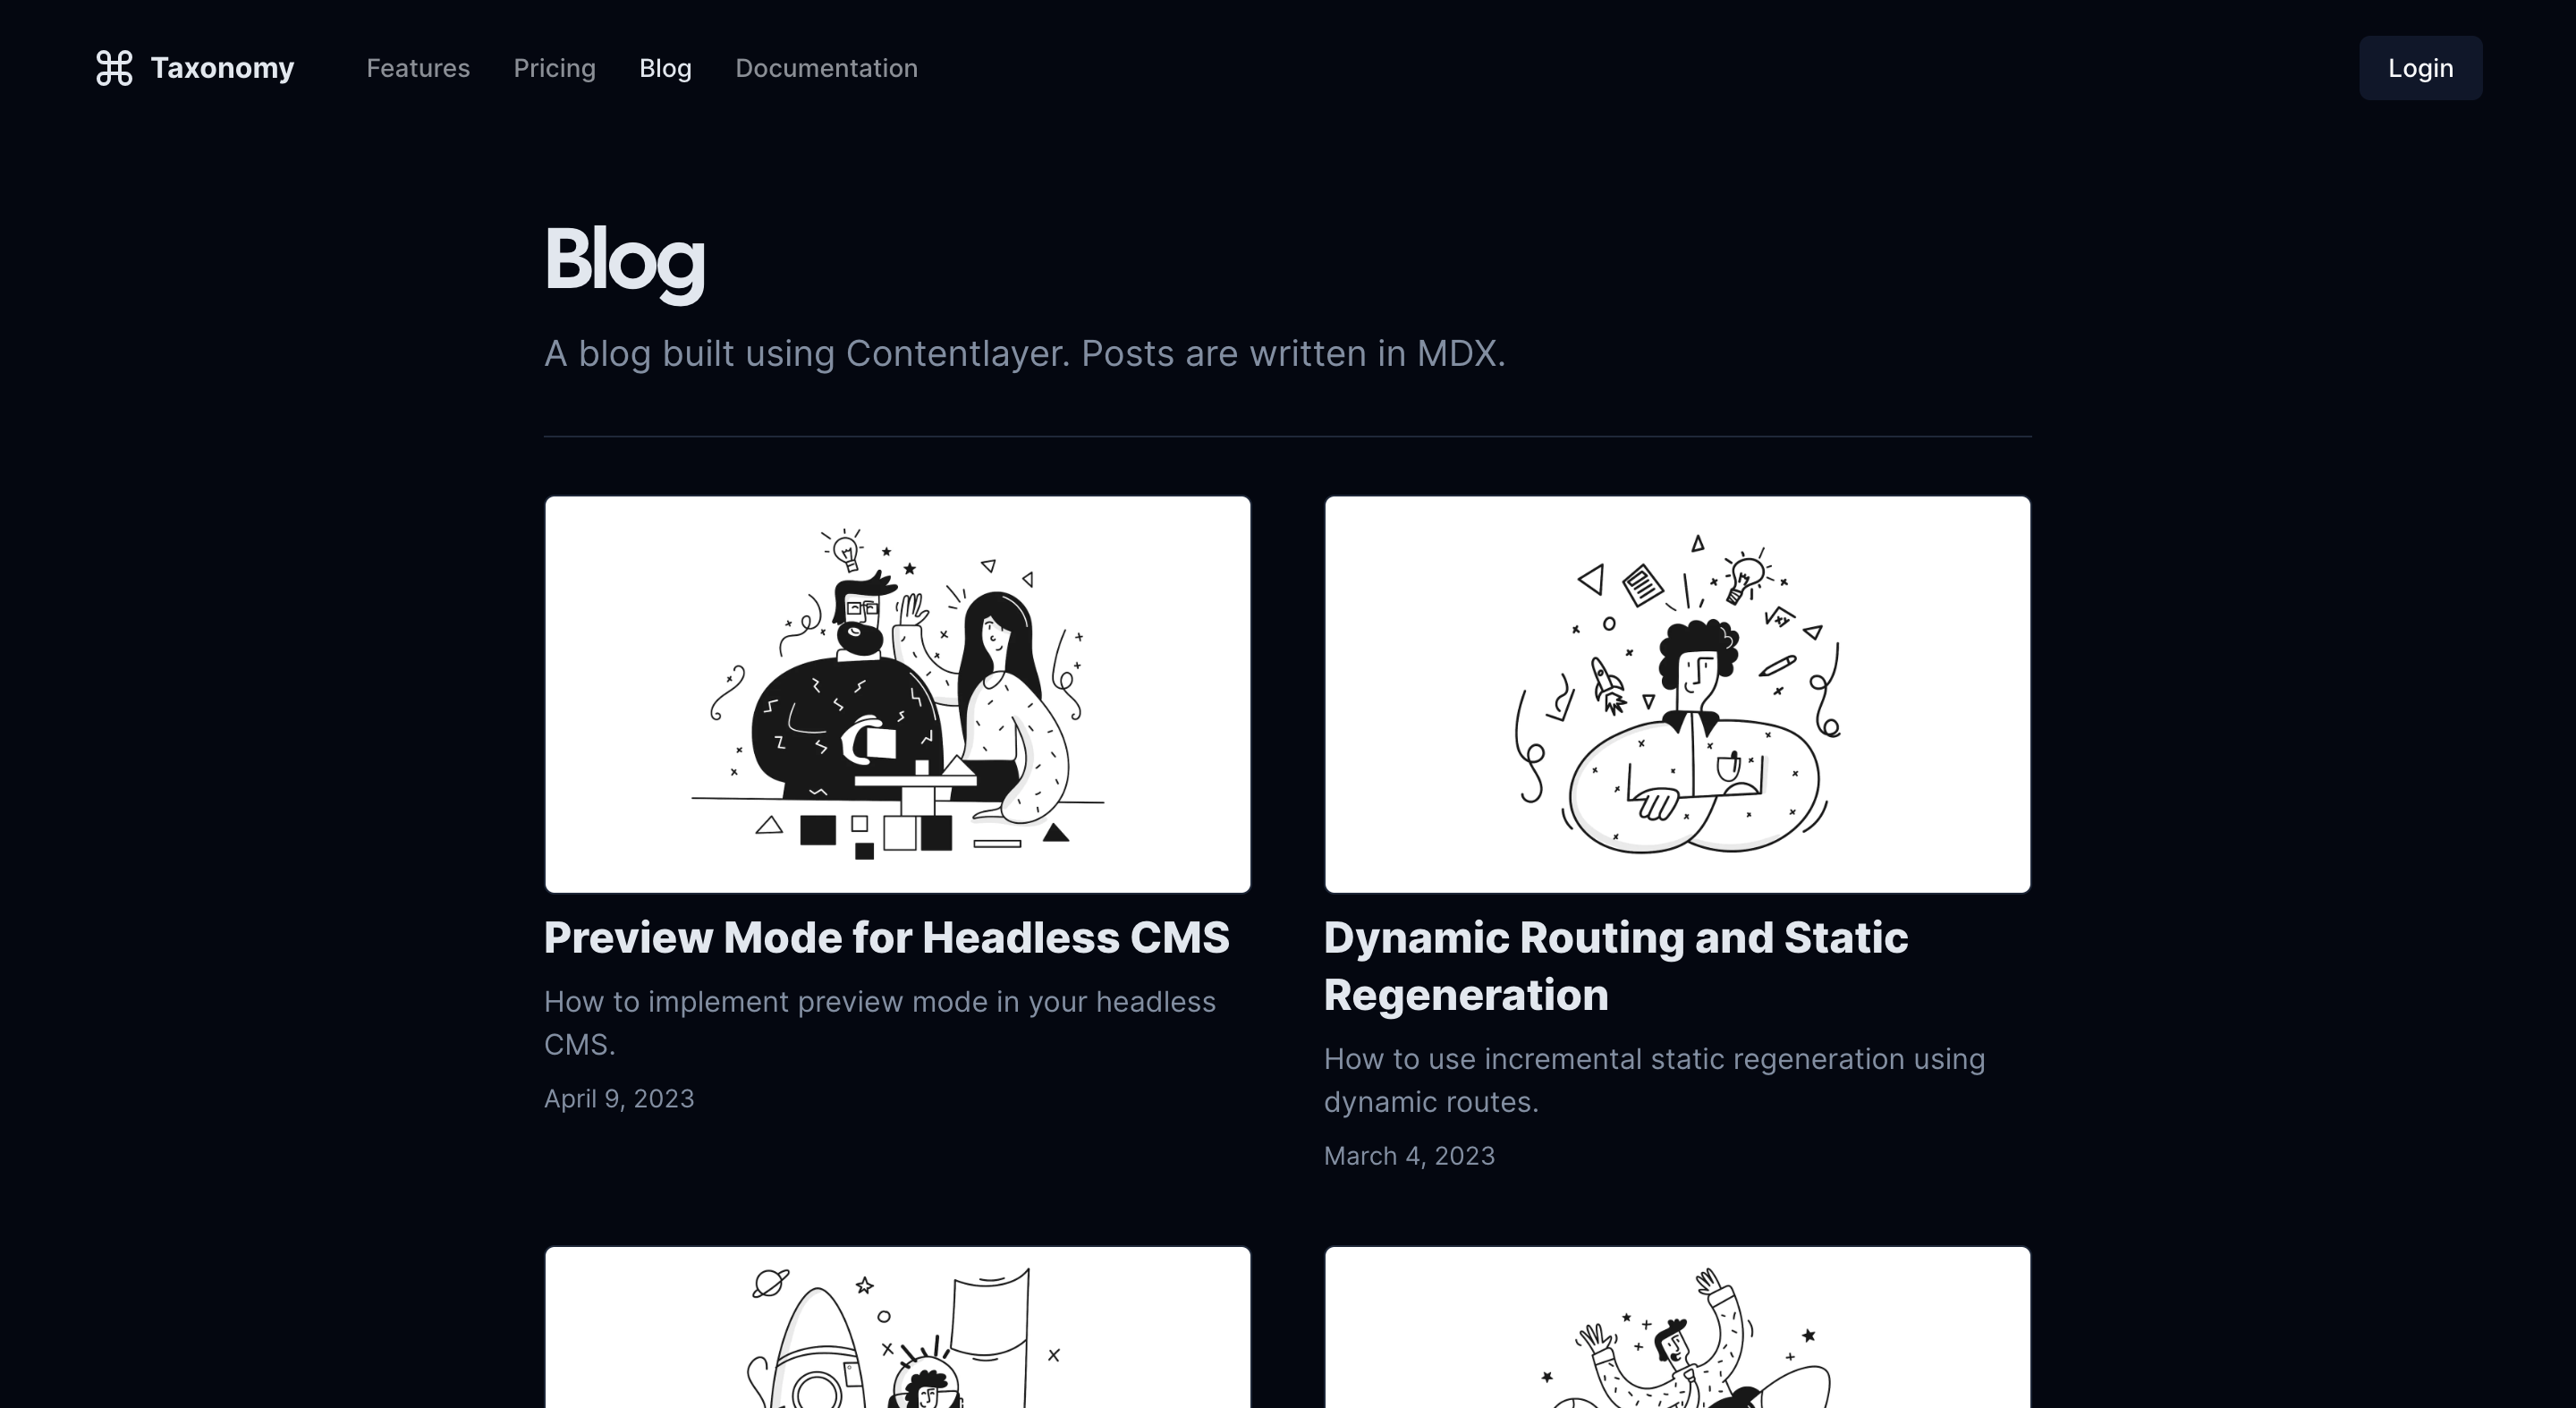

I planned to adopt the layouts of the top two sites, and the thumbnail images/tagging of the bottom two sites.
How I built it
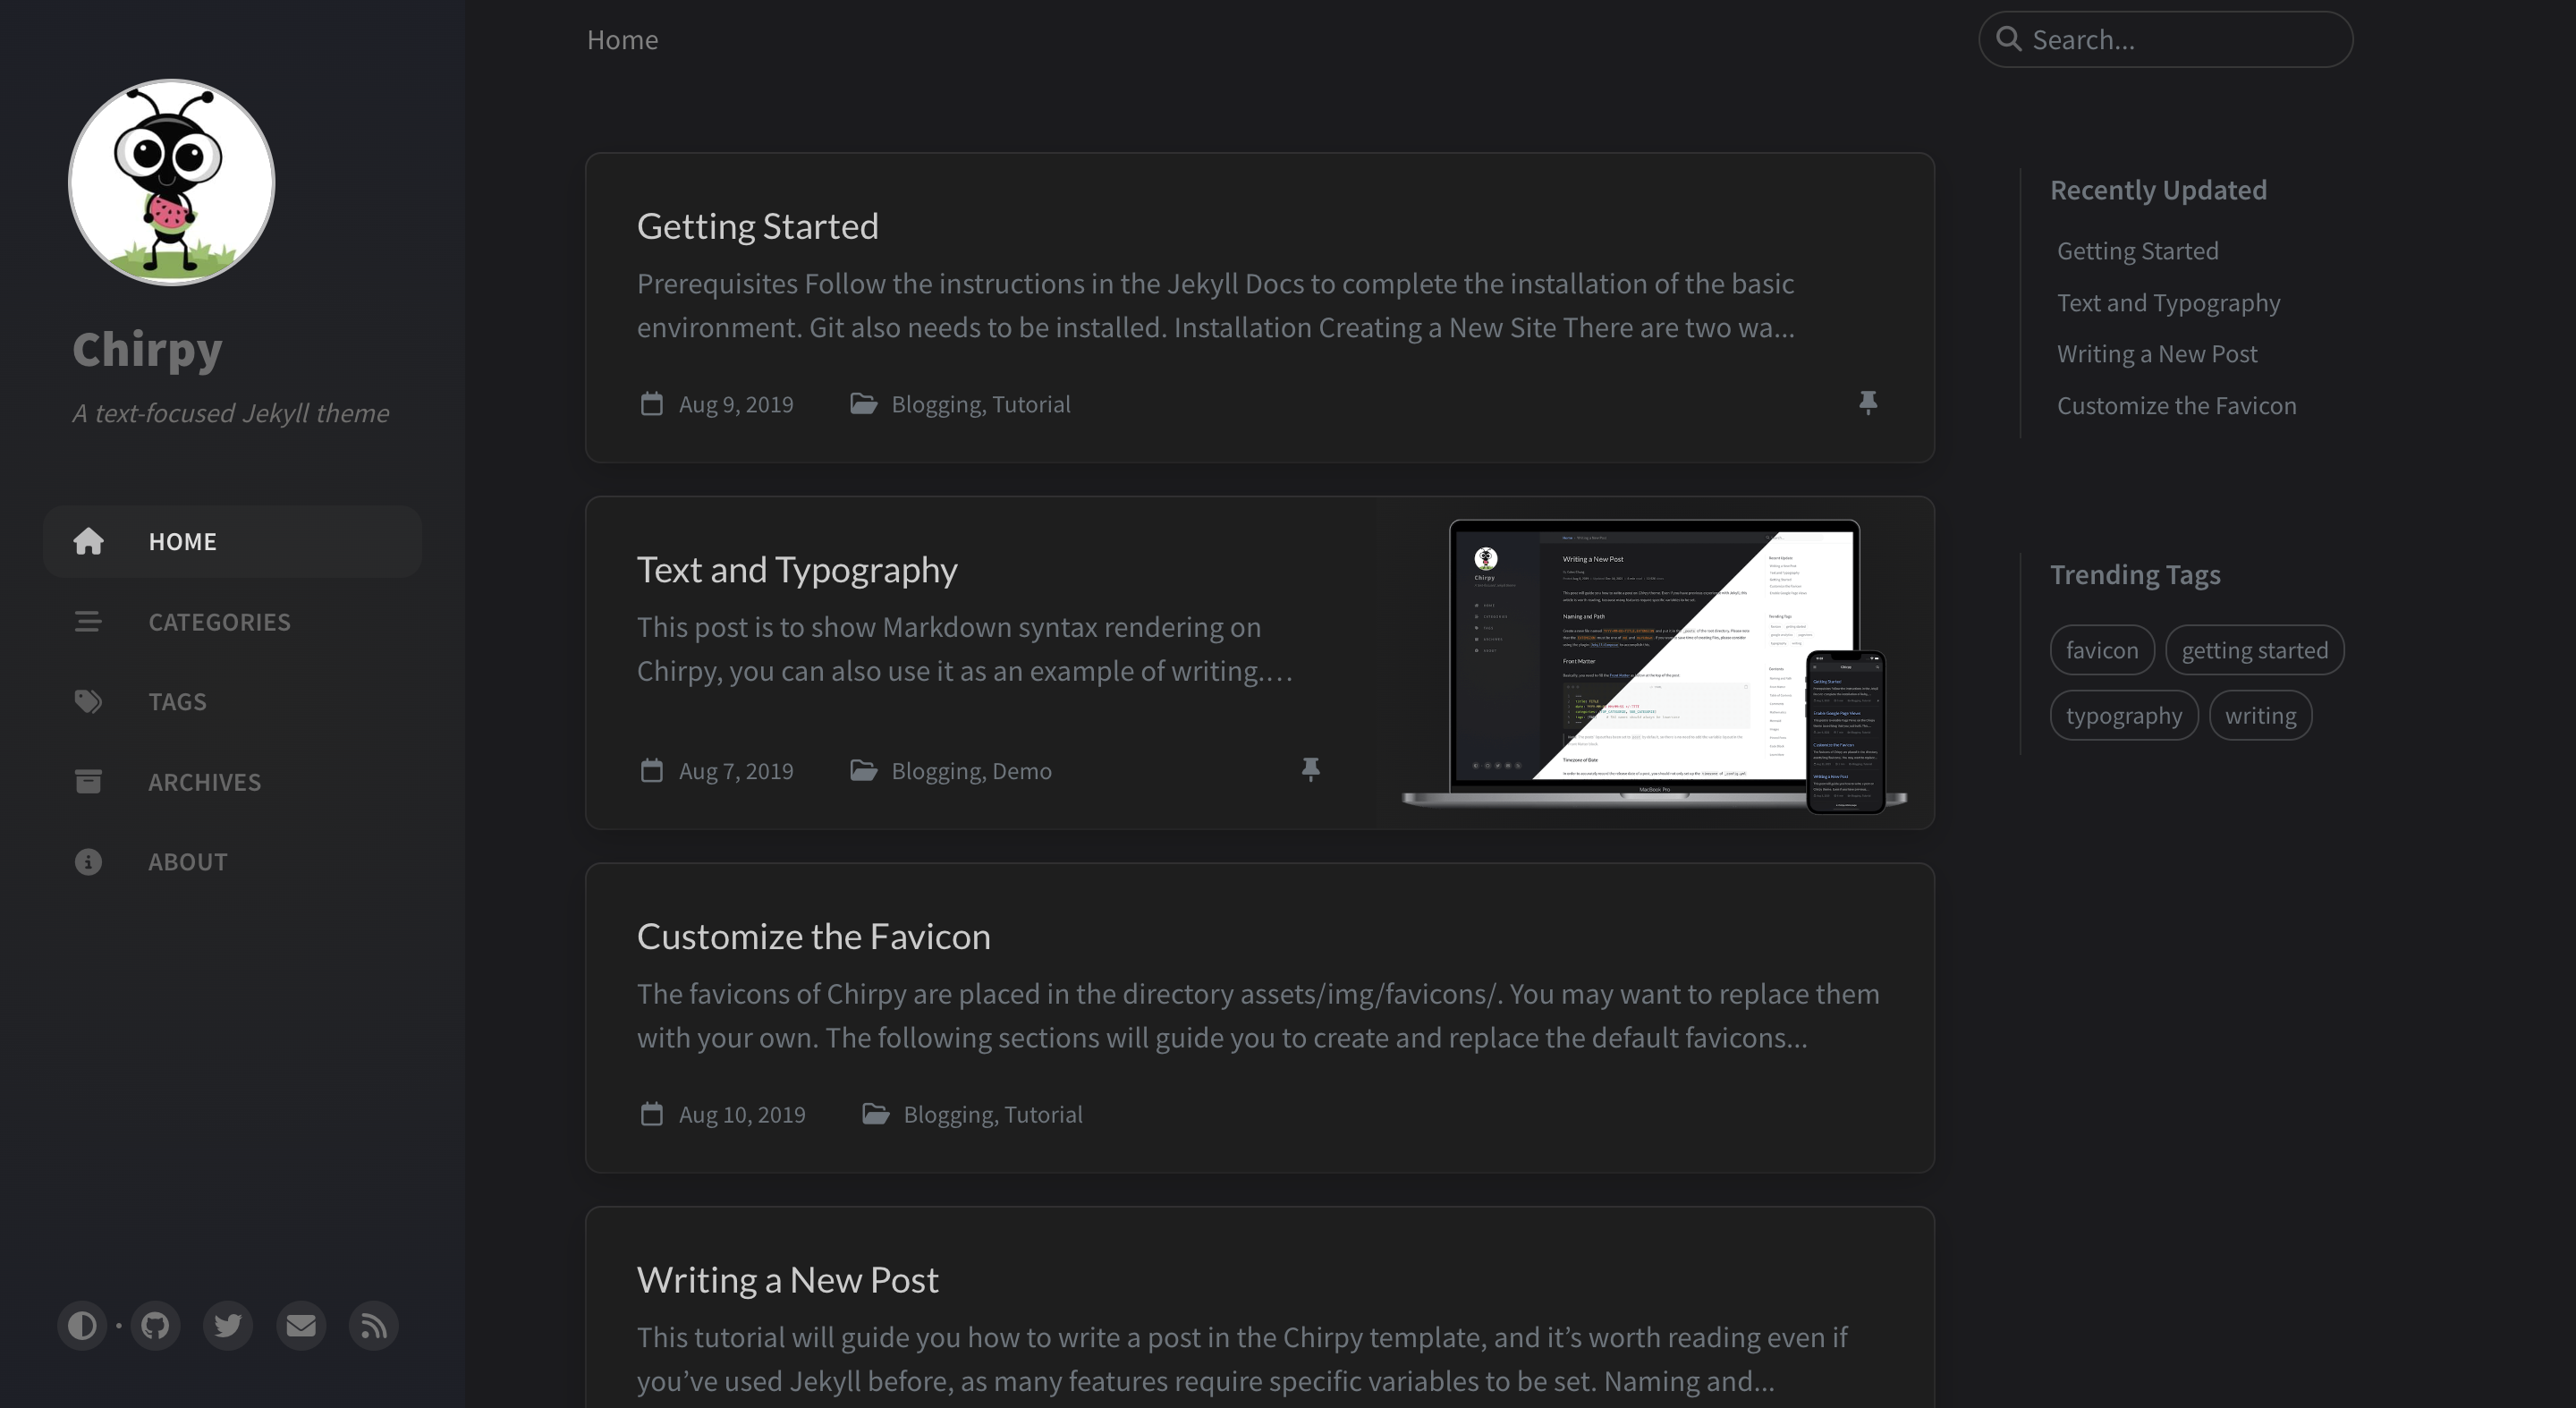
Home Page
I wanted to write my posts in markdown files which meant I would need a markdown parser. Static site generators like Gatsy and Jekyll make this easy but since I'm using NextJS it's a little tougher. I decided on using ContentLayer as my markdown CMS/parser since it plugs in easily with NextJS. On the NextJS website I found a template blog that used ContentLayer, so I used that as a starting point for my site.
It needed some work, but it was an excellent starting point and let me focus on the design of my site instead of the markdown parsing. I made a lot of changes to the template, but the main ones on the homepage were:
-
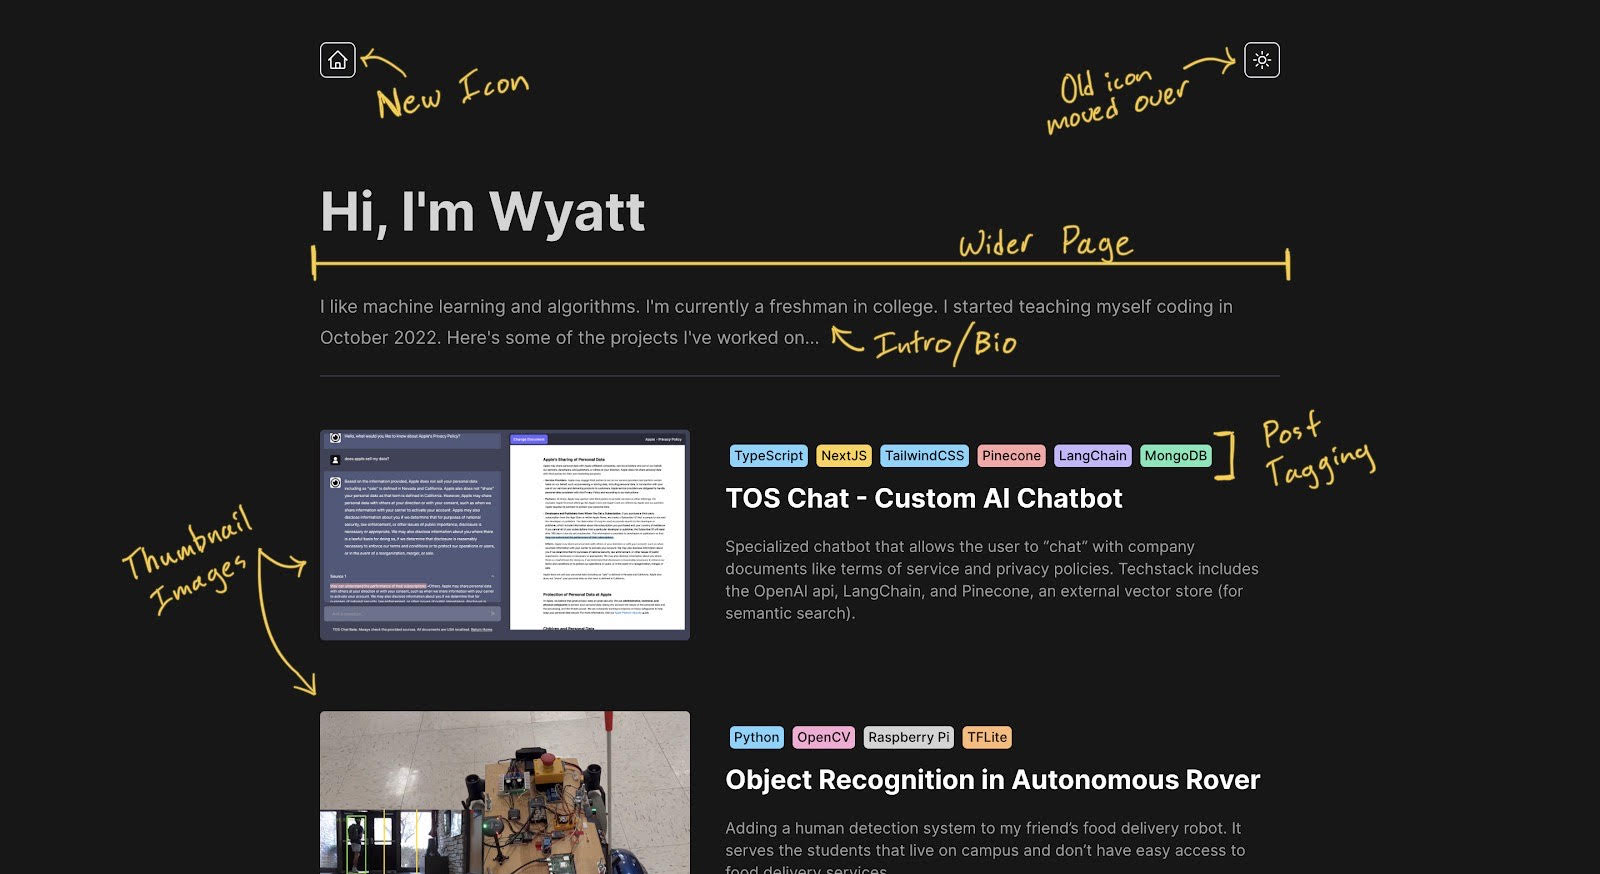
Widening the content of the page and using the new space to add thumbnail images to the articles.
-
Cleaning up the bar at the top by using only icons.
-
Adding my intro paragraph.
-
Adding a tagging system to the articles so you can see what technologies I'm using at a glance.
The information for each of these articles is stored in the header of their respective markdown file:
---
title: Personal Portfolio Site (This Website)
description: Creating a tech blog website/portfolio to store additional information about my projects.
date: "2023-05-12"
cover: "/covers/portfolio-site.png"
tags: { "TypeScript": true, "NextJS": true, "TailwindCSS": true, "ContentLayer": true }
github: "https://github.com/Kickblip/wchprojects.com"
live: "https://www.wchprojects.com/"
---
Project Page
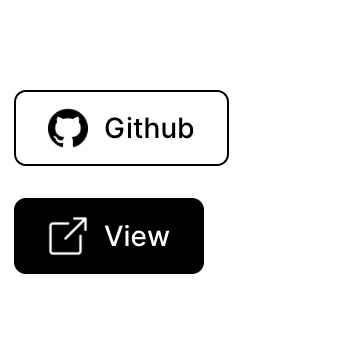
For the actual project pages, I needed to incorporate two links into every project - the github repo and the live demo.
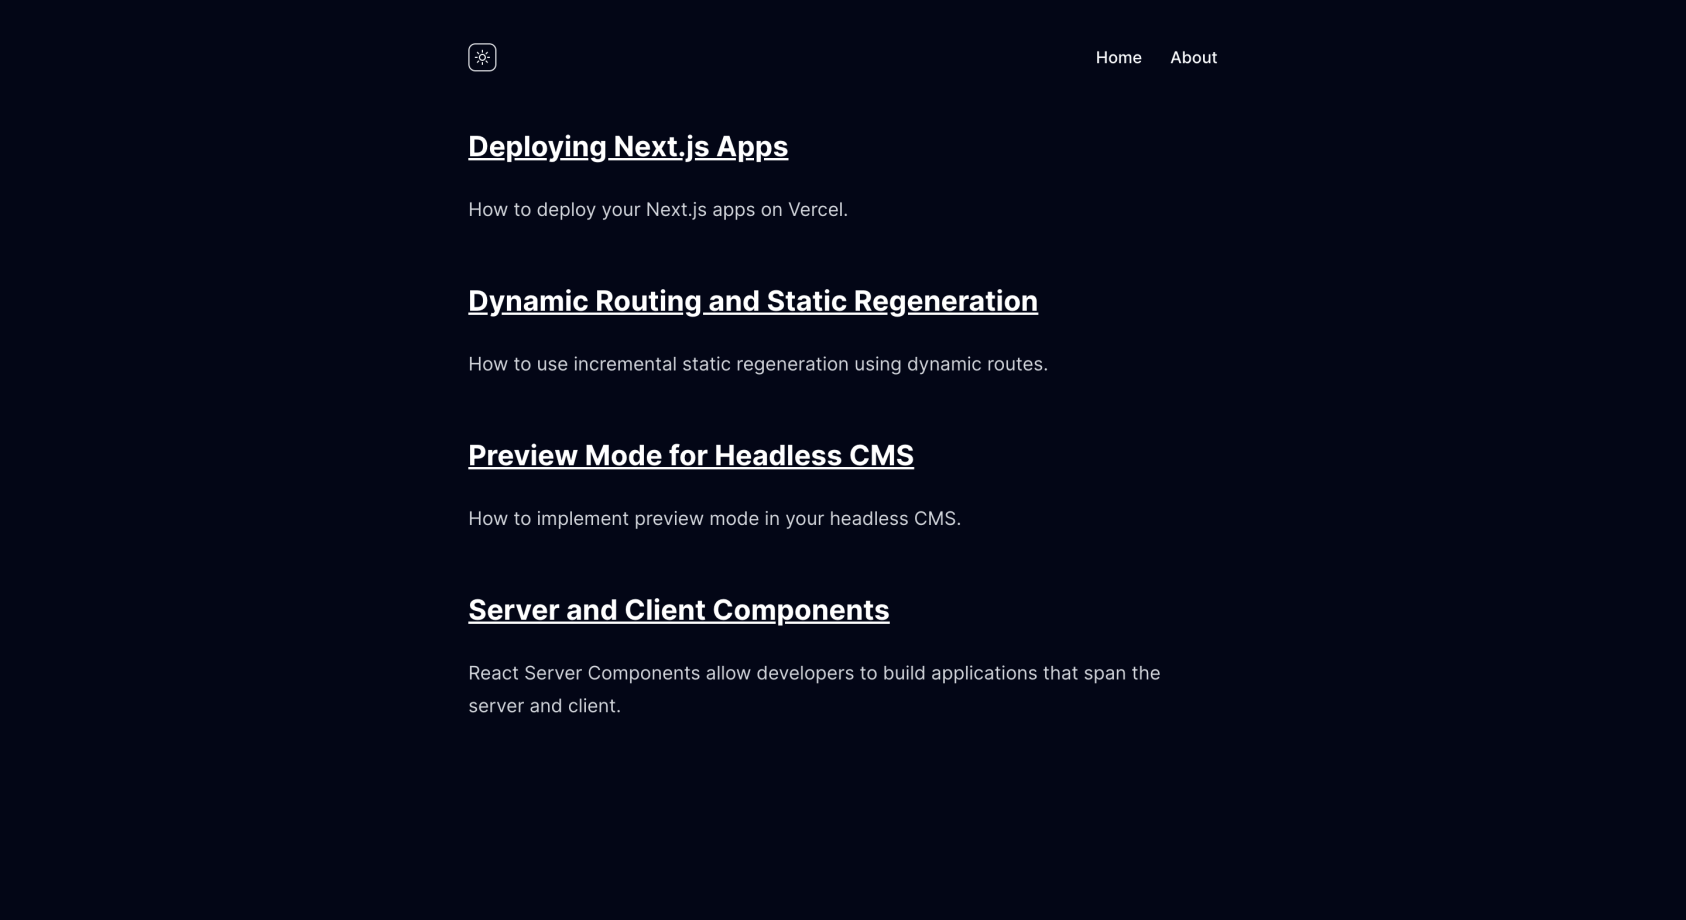
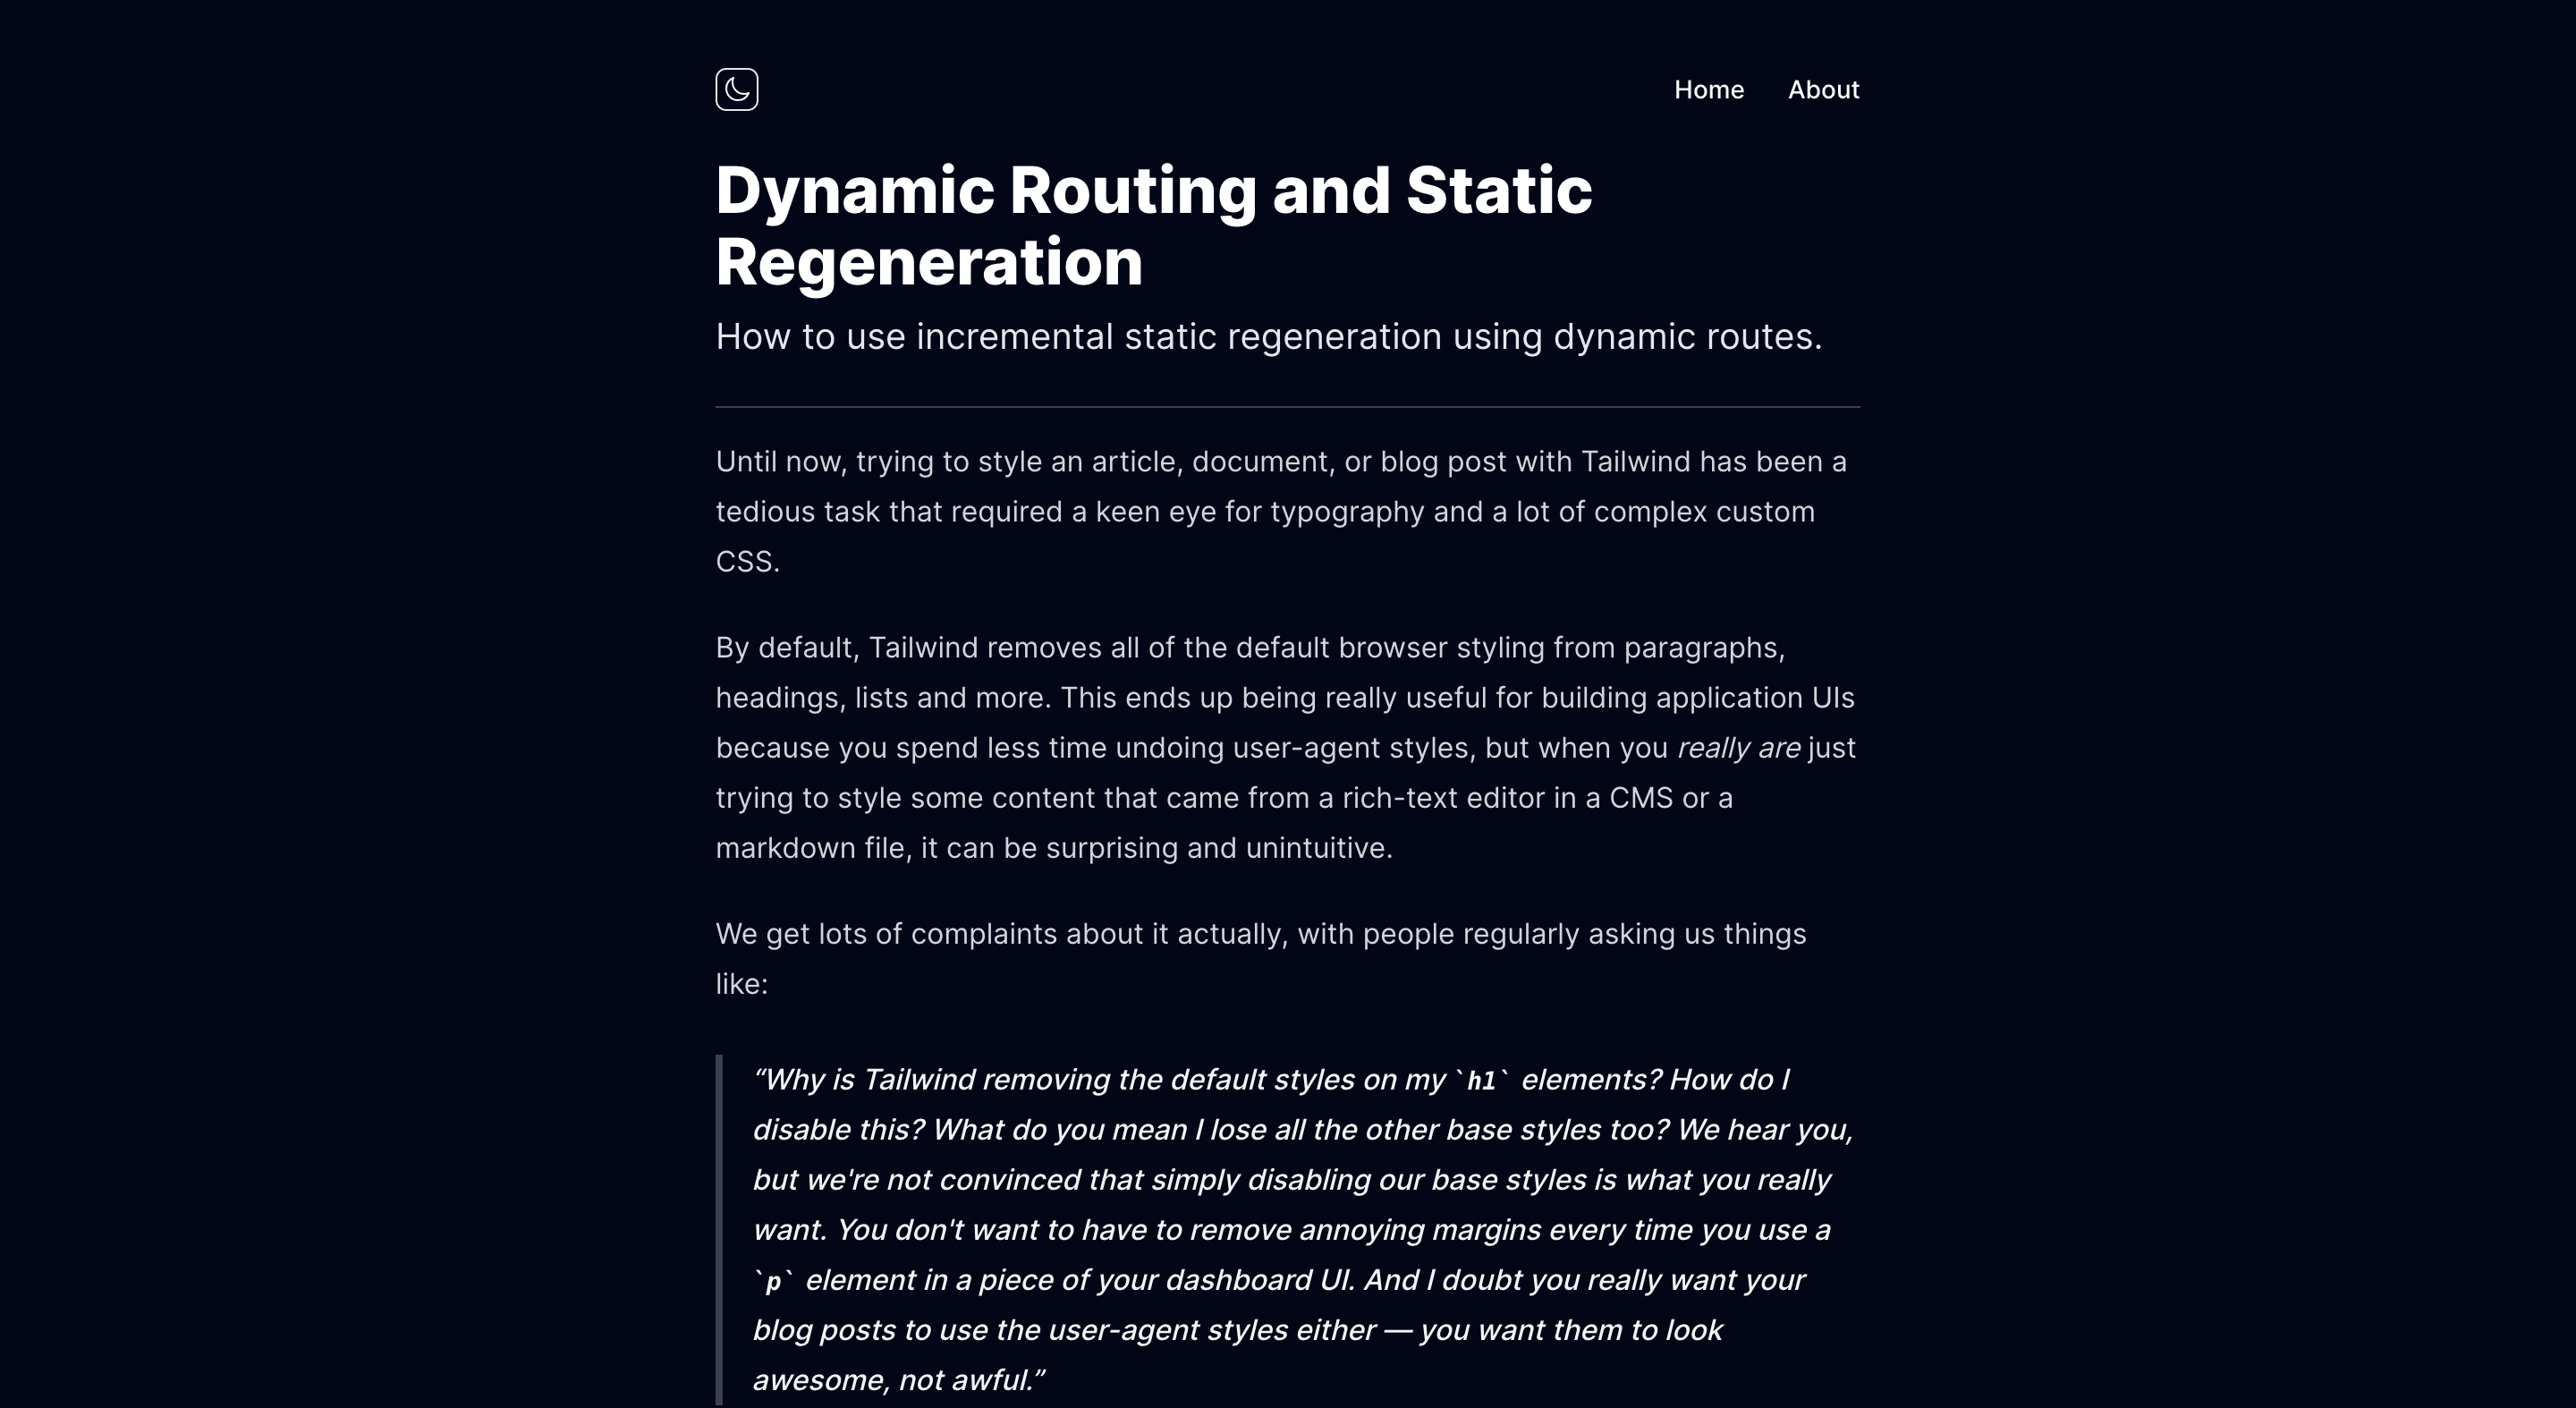
Here is the template before any of my changes:
The template didn't have anything like this, so I made a new component that would take in the github and live links as props and display them as buttons. I wanted this component to float down the page as the user scrolled. To add space for the new floating buttons, I reduced the width of the text content and moved it over to the left.
This is the modified version of the template after all my changes:

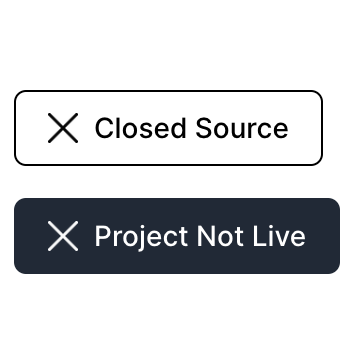
Of course, some of my projects are closed source and some don't have live versions, so I made the header arguments optional in my articles. This means that if the component doesn't provide a link to a repo or demo, the button becomes a disabled grey color and doesn't link anywhere.
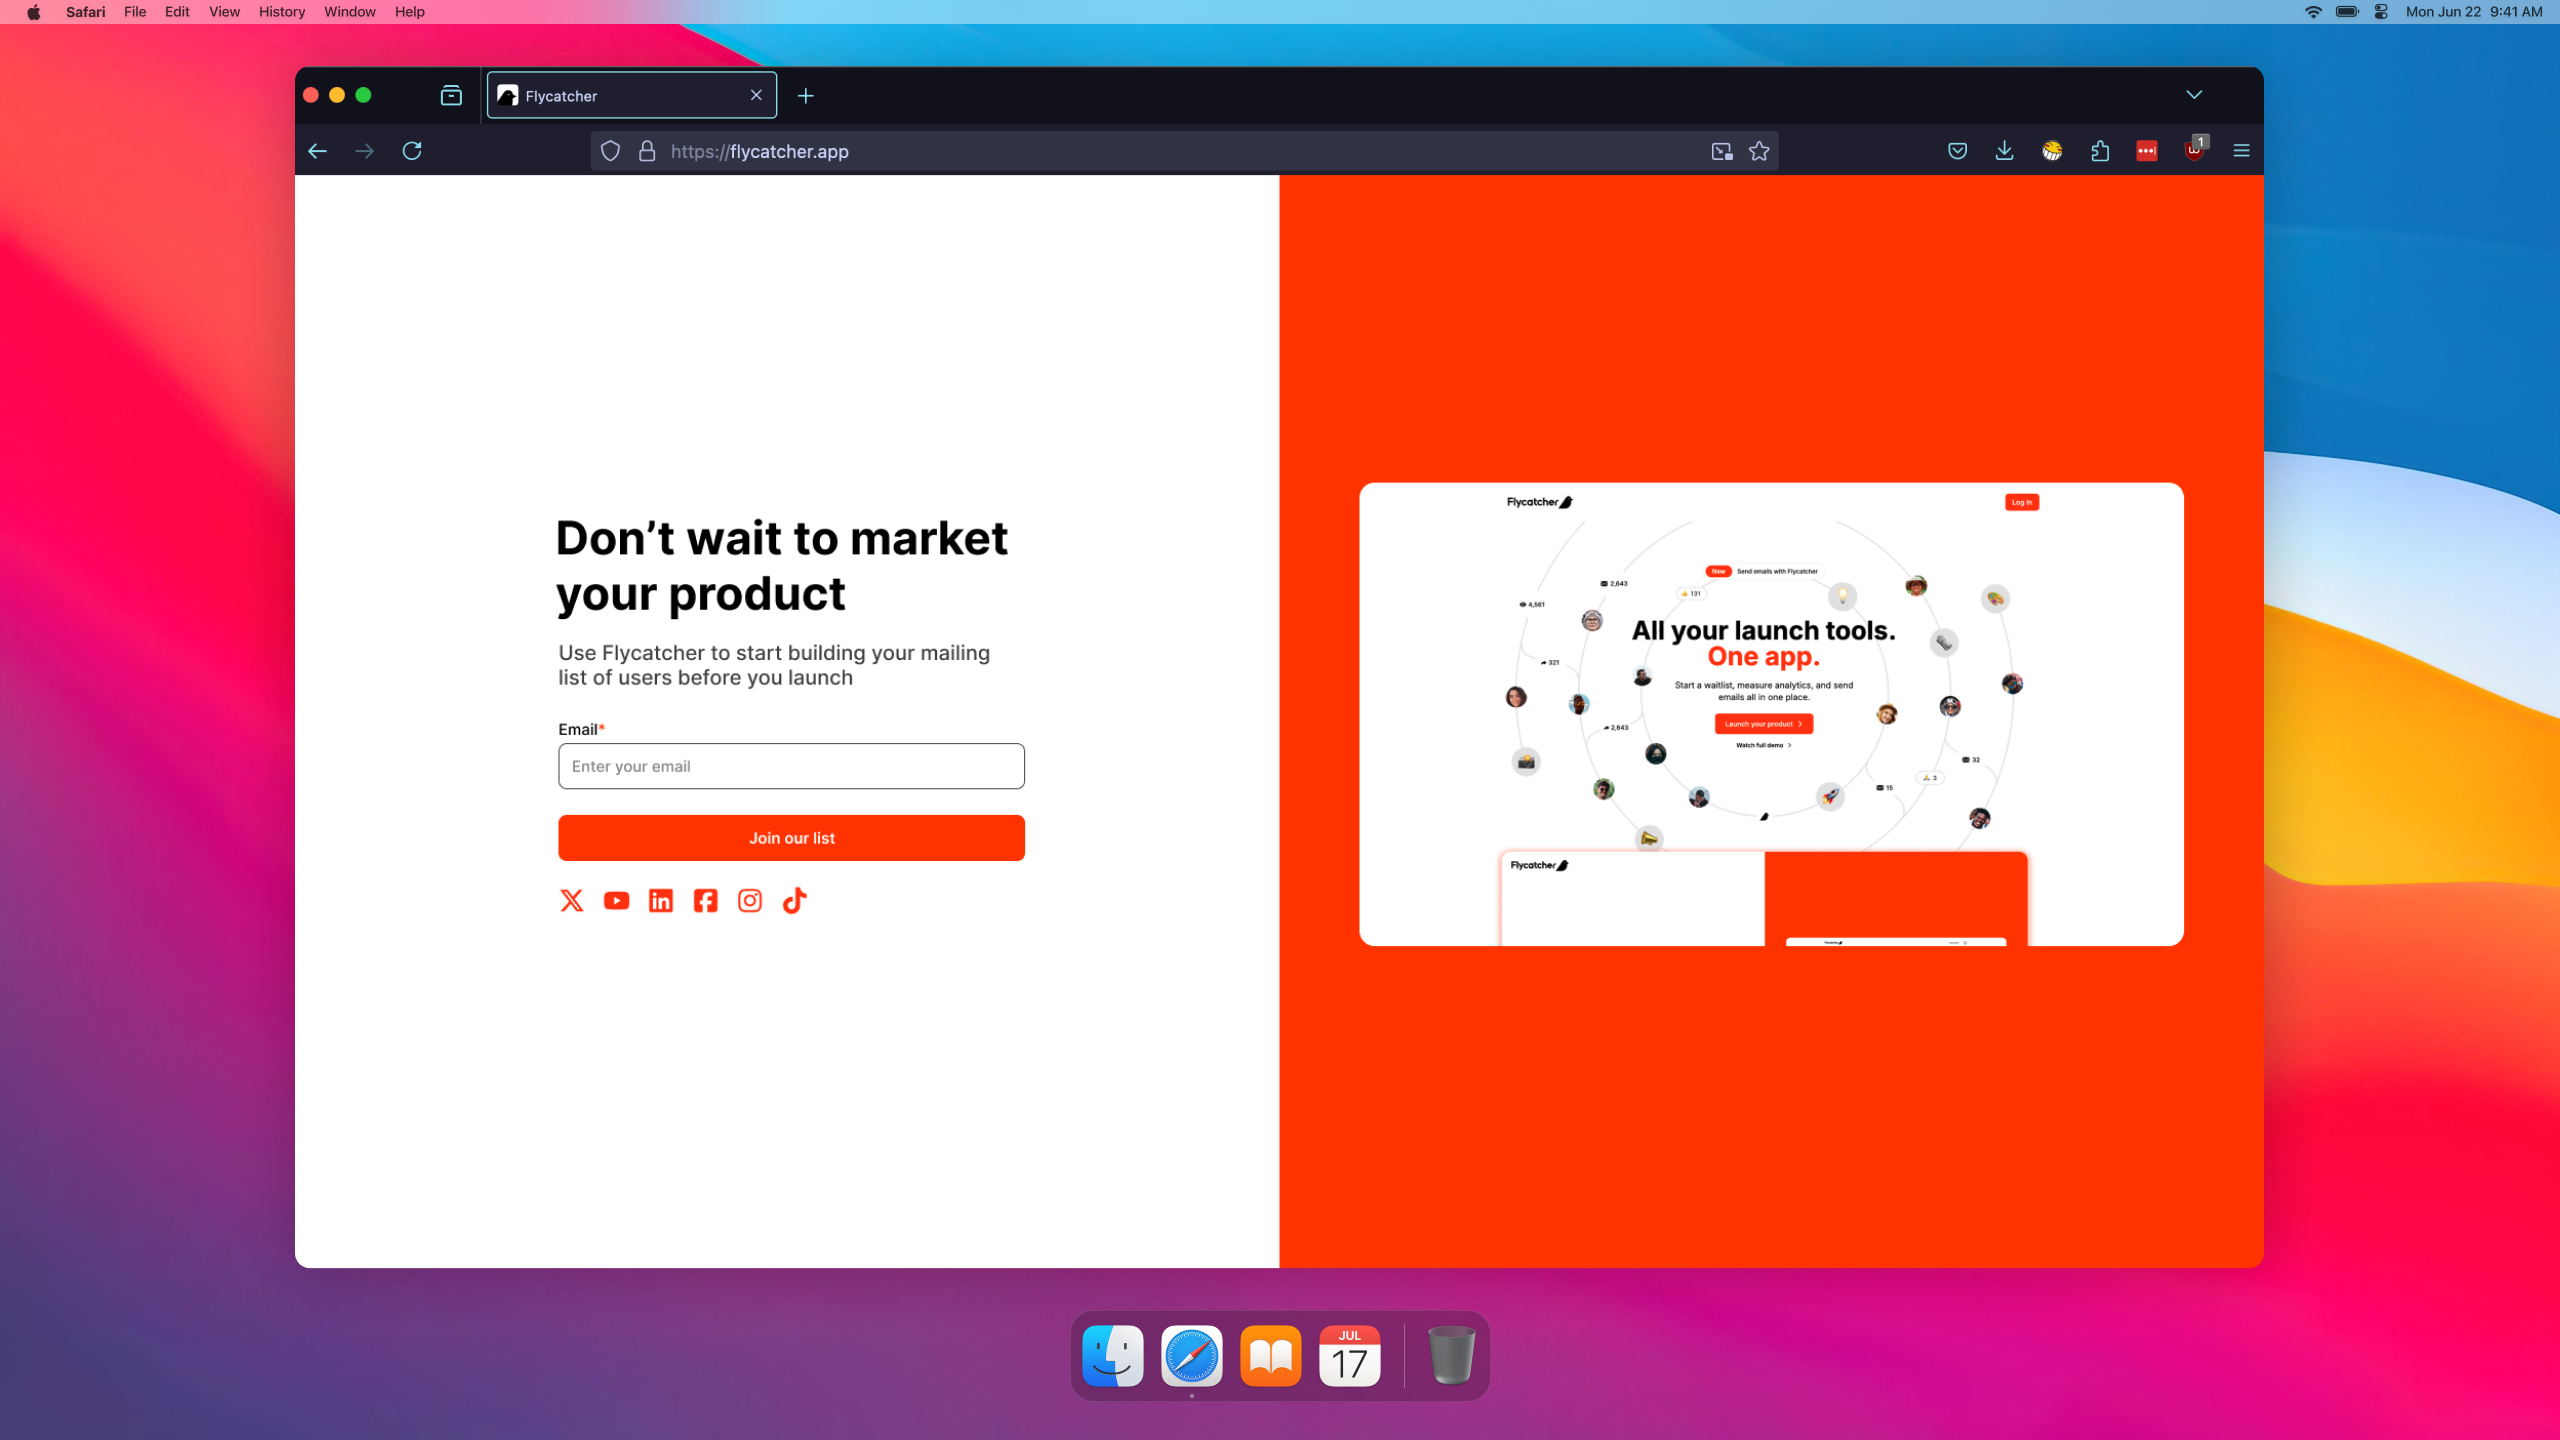
Flycatcher - Waitlist Builder
Build your custom branded waitlist, collect insights about your subscribers, and send email campaign...
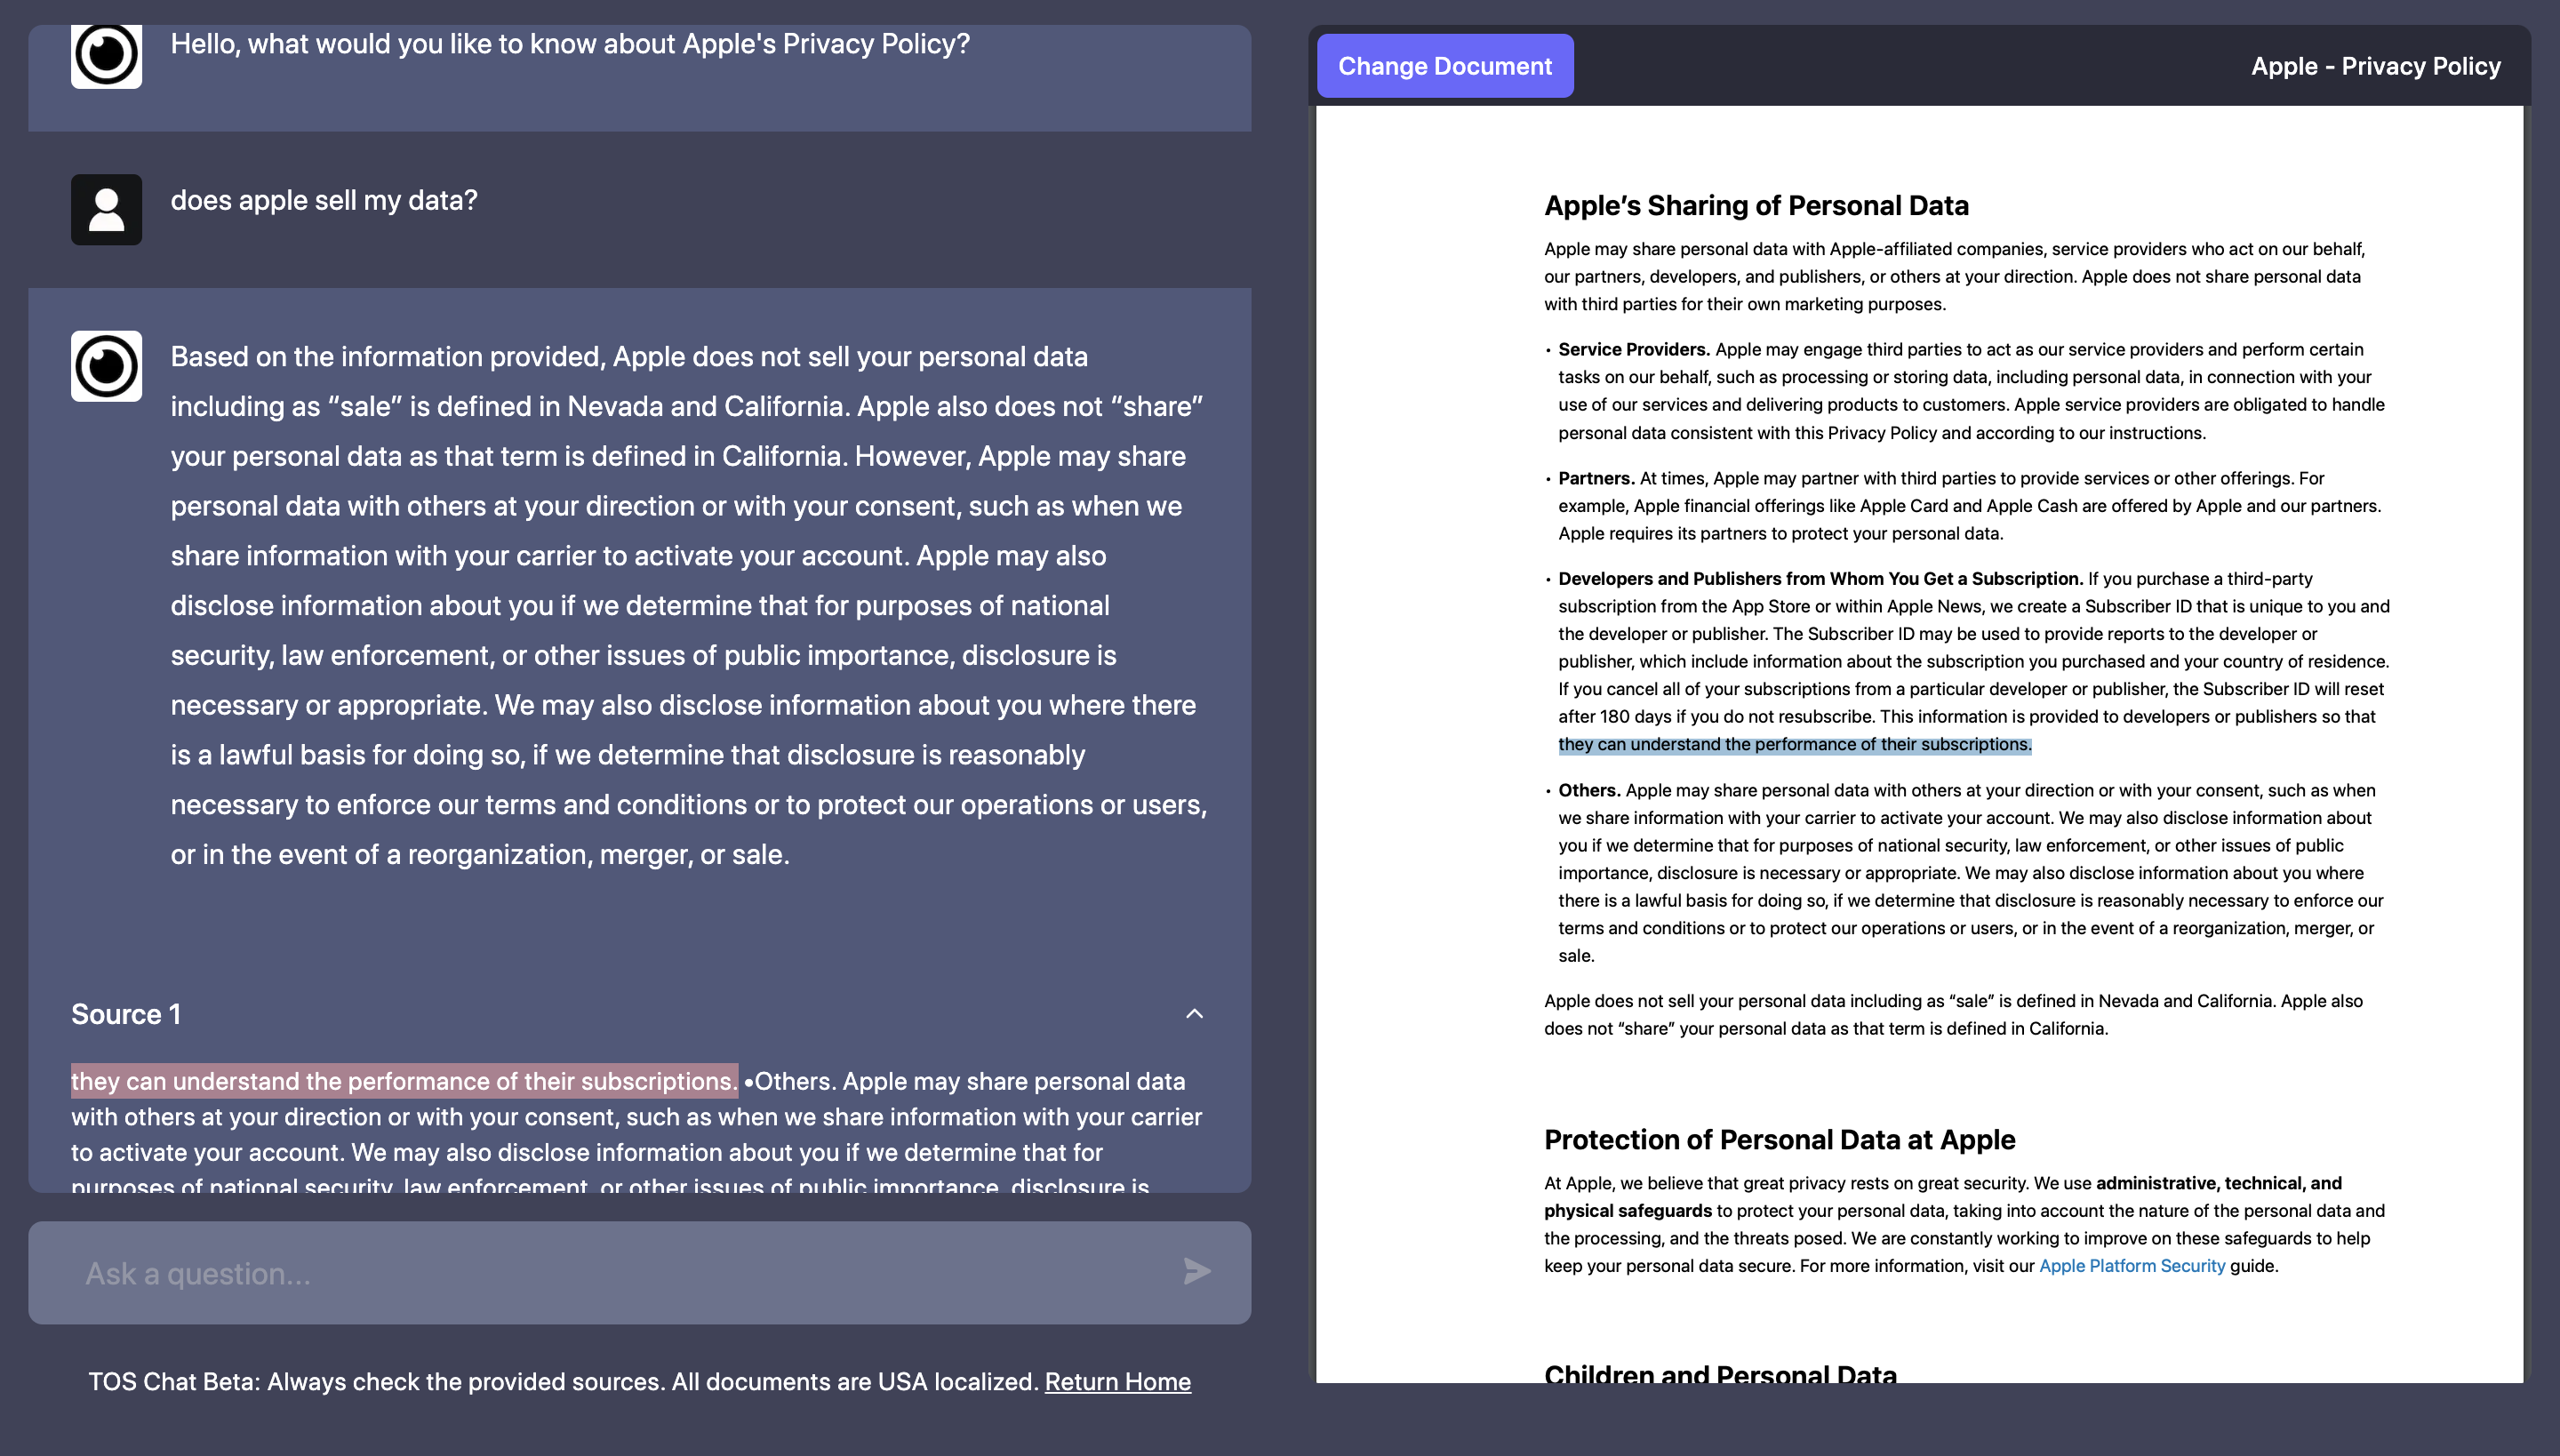
TOS Chat - Custom AI Chatbot
Custom GPT chatbot that allows the user to 'chat' with terms of service and privacy policy agreement...
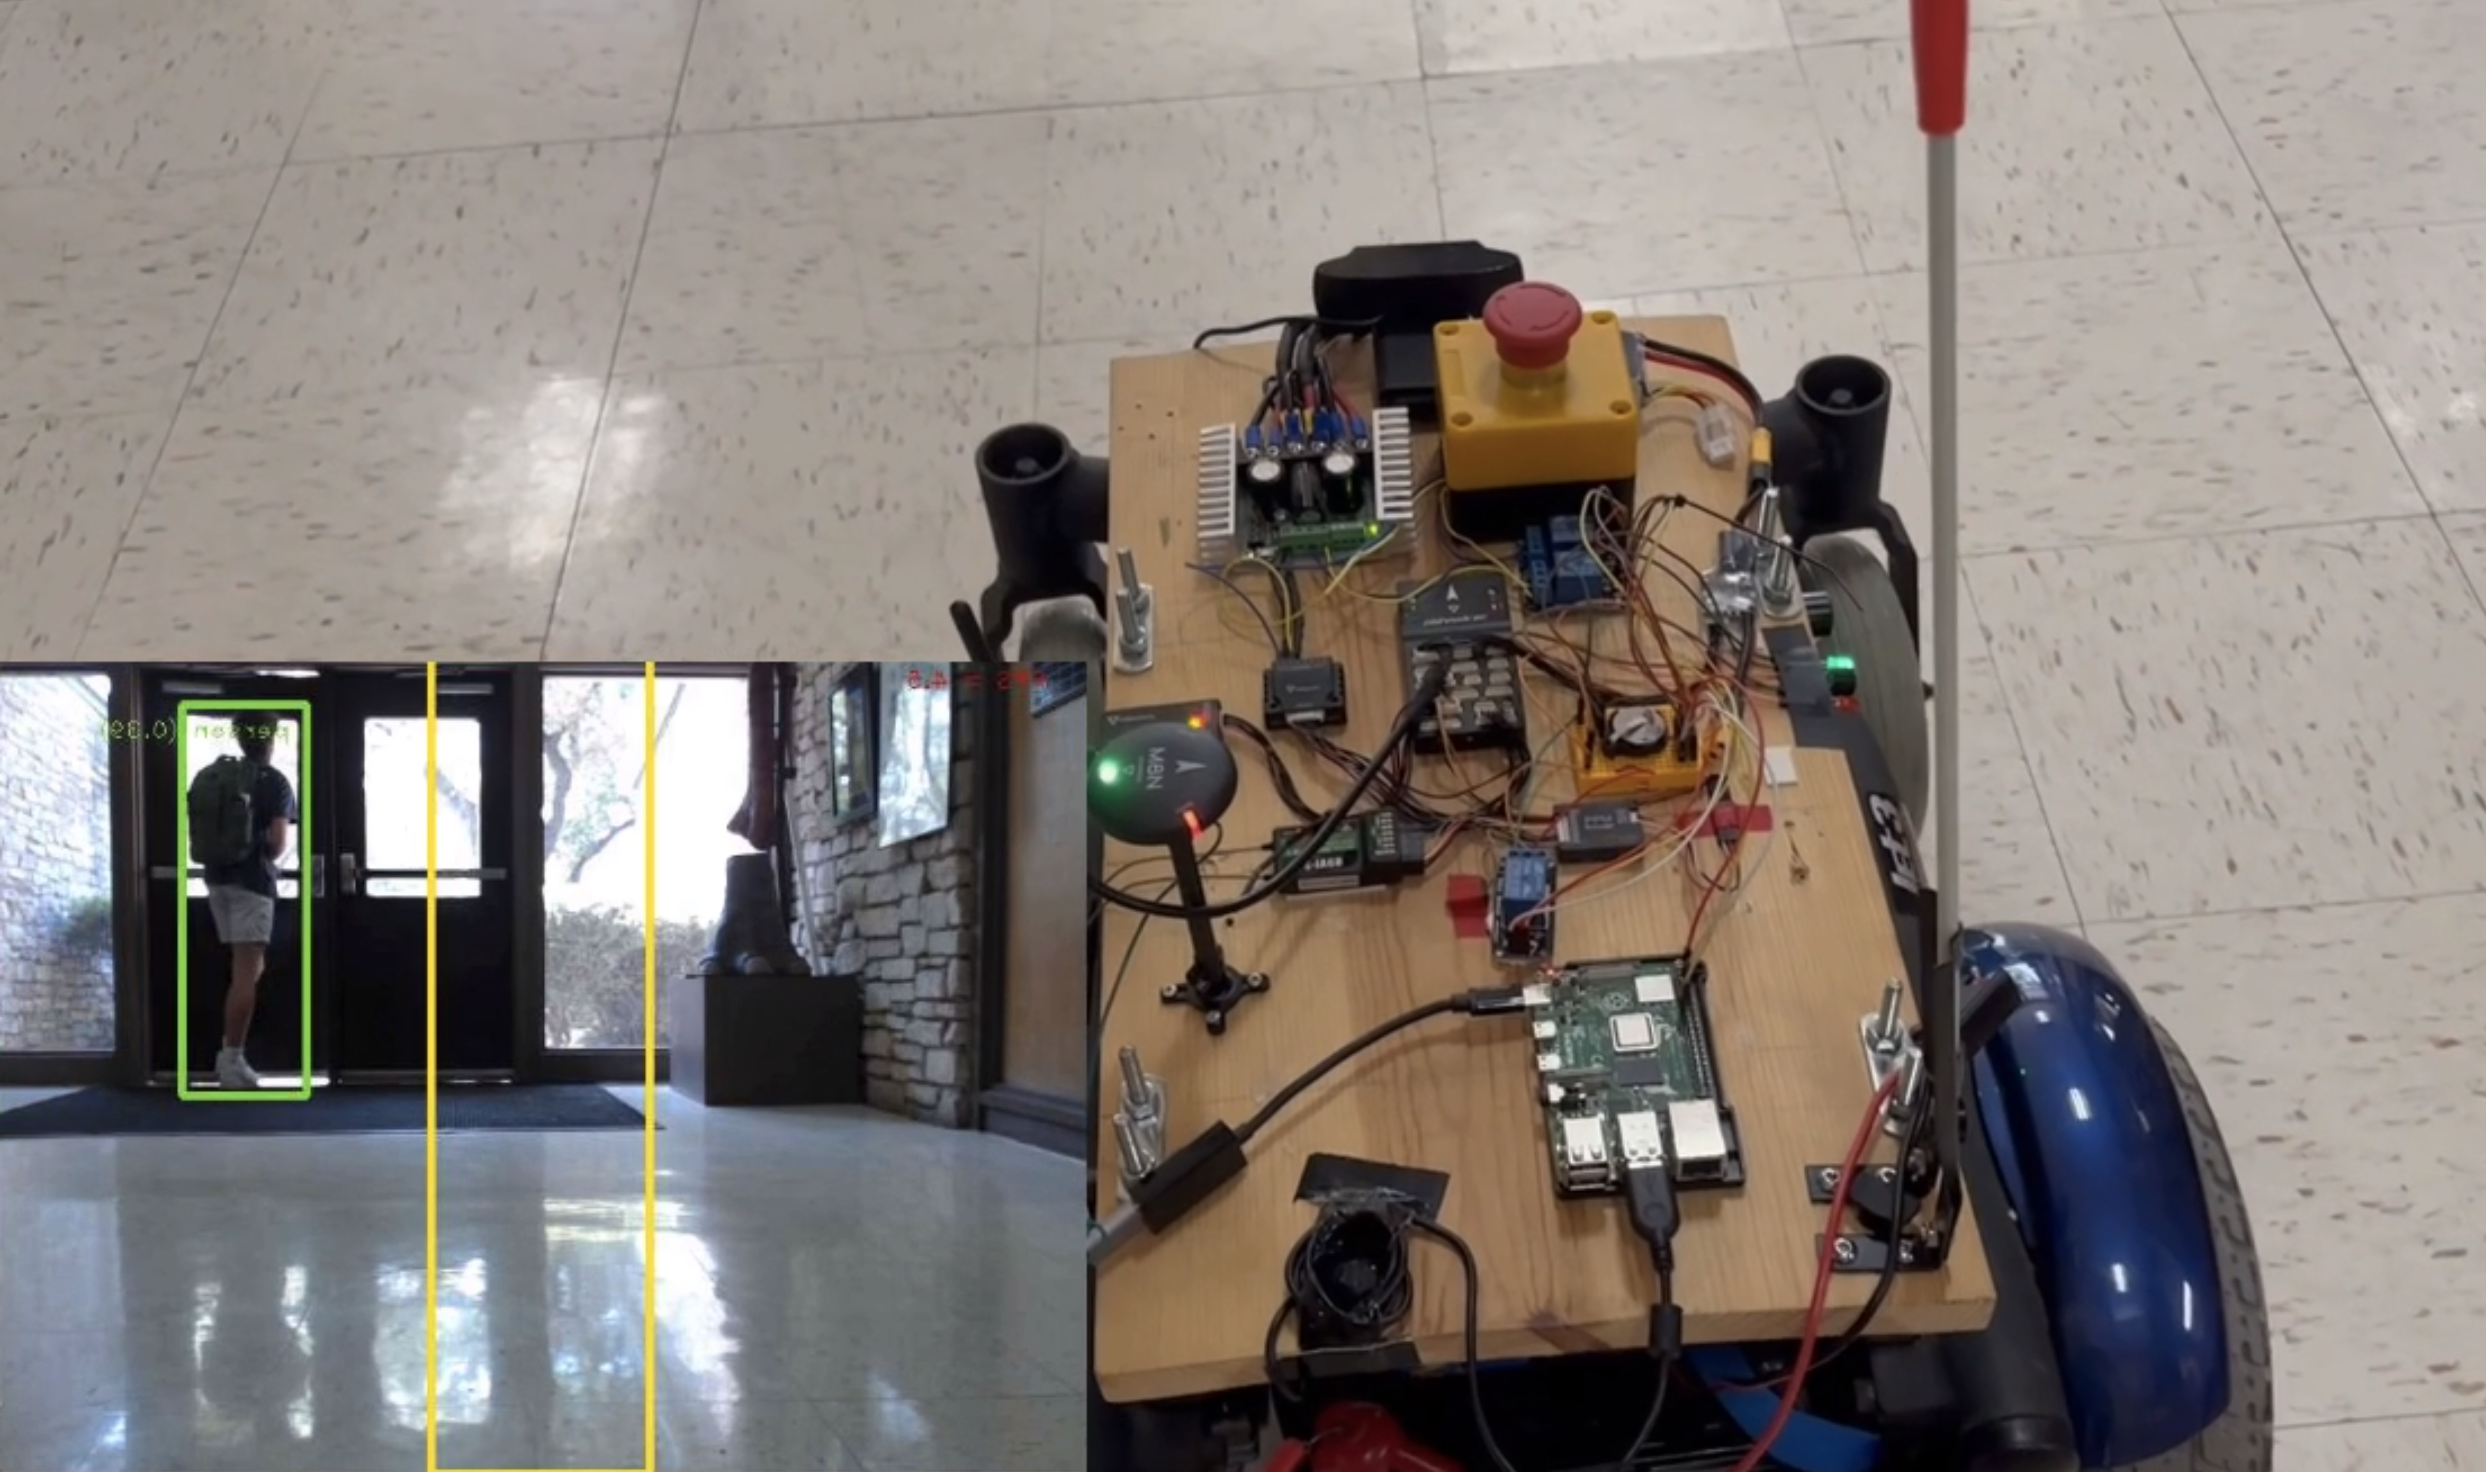
Object Recognition in Autonomous Rover
Adding a human detection system to a food delivery robot that serves boarding students on campus who...
All Posts